Quick start (Retail & Other Businesses)
Let's consider how to start working in retail as a location type
Note: Later in the Location settings of the Back Office, you will be able to change the location type.
To start working with Retail as a location type, please open air.untill.com in your browser and sign up.
During the sign up, choose Retail as a business type:
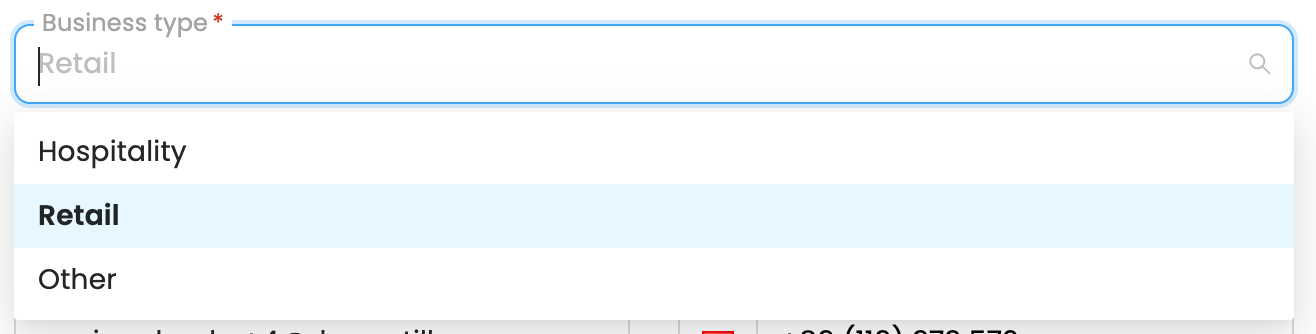
Note: If your business is not retail or hospitality, please select 'Other' as a business type. The setup process for 'Other' is the same as for Retail.
Manual setup guide
Once you have access to the Back Office, you can seamlessly complete the setup process by following the steps in this guide.
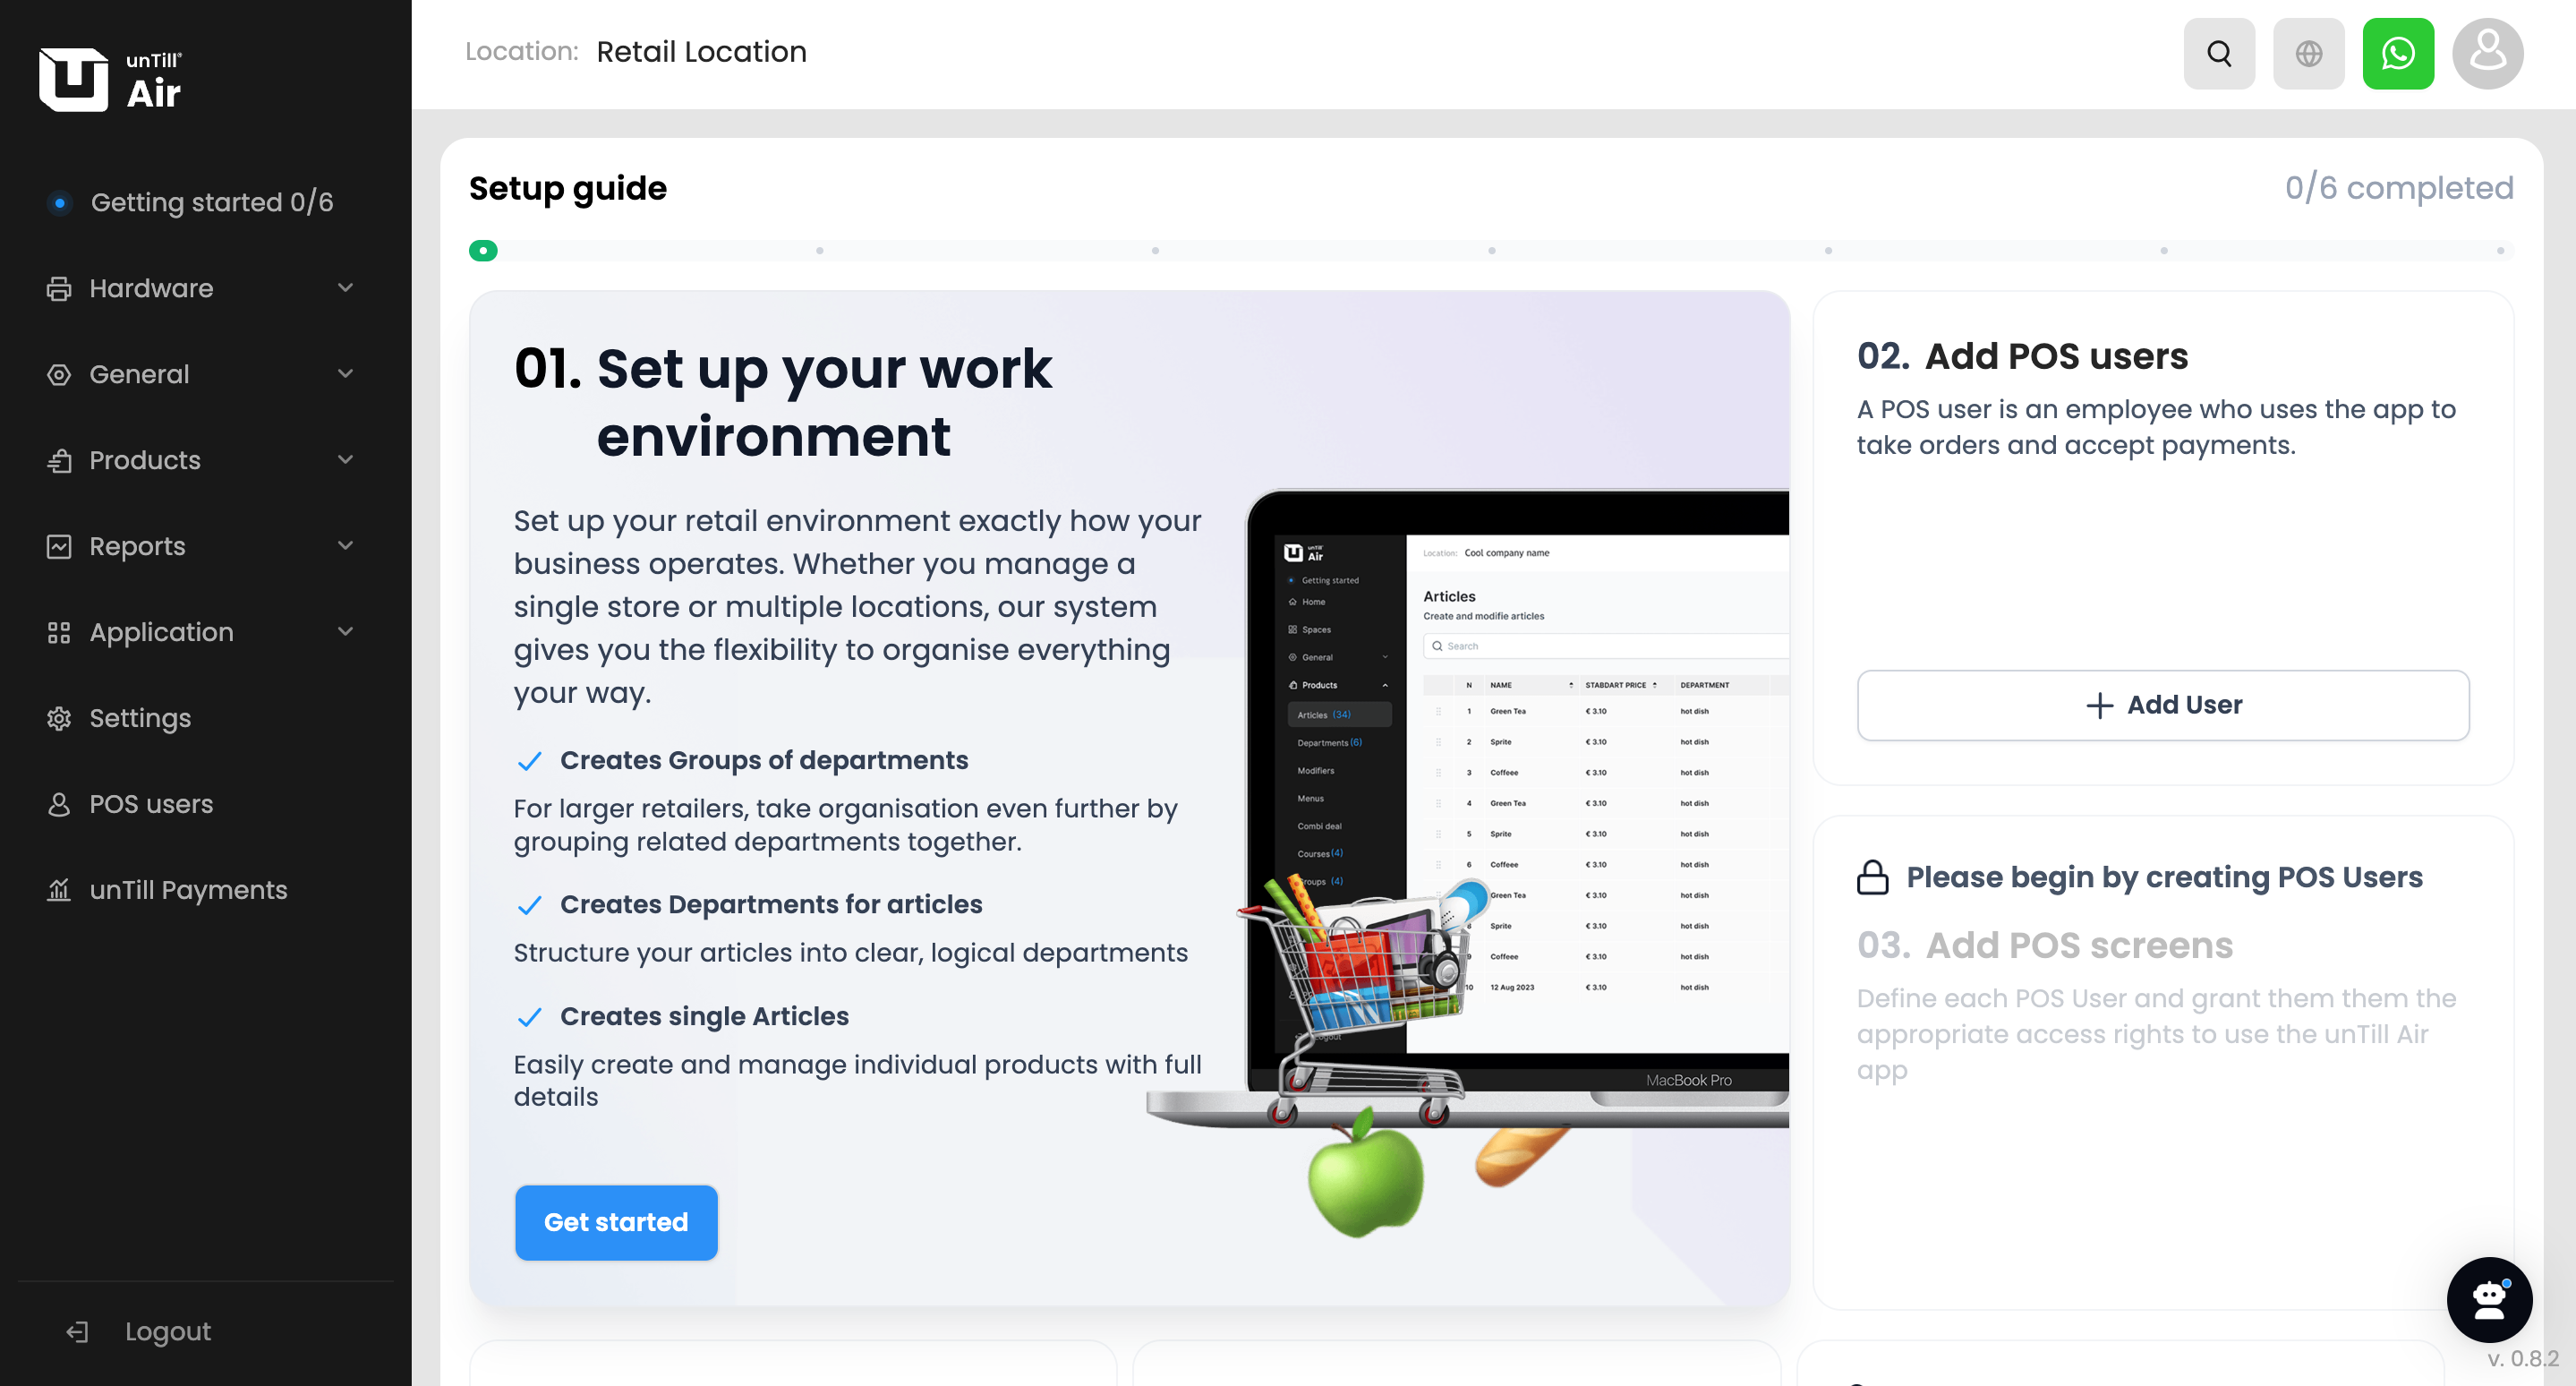
To start, click the ‘Get started’ button at the bottom of the first step pop-up. Here, you can set up the following items:
Step 1: Set up your work environment
1. Add VAT groups
Divide your items into groups based on their corresponding VAT rates so that the correct tax is applied automatically at checkout.
To add a VAT group, click the ‘+’ button to select one from the suggested list or type the name of a new VAT group. Then select the corresponding VAT rate for each group and click ‘Next’ to proceed.
For more information VAT levels, refer to this page
2. Add Departments
Departments help you organise your articles.
You can select departments from the suggested list by clicking the ‘+’ button or by typing the name of a new department. For each department, select the corresponding VAT group from the ones you created earlier. Then click ‘Next’ to proceed.
For more information about departments, refer to this page.
3. Add Articles
You can now add your articles by entering their name, standard price, and selecting the corresponding department.
After adding at least one article, click ‘Done’ to proceed to Step 2.
For more information about articles, refer to this page.
Step 2: Add POS users
POS users are employees who will work on the POS. You can create different POS users for your shop assistants, bartenders, and other staff members.
To add a POS user, click the ‘Add user’ button at the bottom of the second step pop-up.
For each user, specify the name displayed in the POS, their full name, select the user language, and create a login code. Then activate the corresponding permissions using the toggles.
For more information about POS users and permissions, refer to this page.
Step 3: Add POS screens
POS screens are devices used by POS users to create and manage orders, process payments, and use features such as applying discounts, splitting bills, and more.
To add a POS screen, click the ‘Add screen’ button at the bottom of the third step pop-up. A pop-up will appear with two QR codes that you can scan using the camera of the device you want to use as a POS screen to download the unTill Air app. Once the app is installed, click ‘Next’.
Specify a name for your first screen and select the corresponding sales type. Then click ‘Next’ to generate a QR code to link the screen. You can either scan this QR code within the unTill Air app on your device or link it using a code by clicking the corresponding button and following the instructions.
Once the screen is linked, you can add another screen by clicking ‘Add another screen’ or click ‘Back to getting started’ to complete the final steps of the setup process in the Back Office.
Step 4: Add printers
To add a printer, click the ‘Add printers’ button at the bottom of the fourth step pop-up.
To set up a printer, specify its name and purpose, and provide technical details such as IP address, port, and paper width.
For more information about printers and their configuration, refer to this page.
Step 5: Choose your subscription
After your trial period ends, you can choose the subscription plan that best suits your business needs. You can also activate your subscription at any time before the trial period ends to gain access to unTill Payments.
For more information about the trial period and activating subscription, refer to this page.
Step 6: unTill Payments
unTill Payments is an integrated payment solution that allows businesses to accept and manage payments directly within their POS.
You can request access to unTill Payments at any time after activating your subscription.
For more information about the unTill Payments portal, refer to this page.