Manage Articles
☑️ Location Owners
Create an Article
To create an Article, please follow these steps:
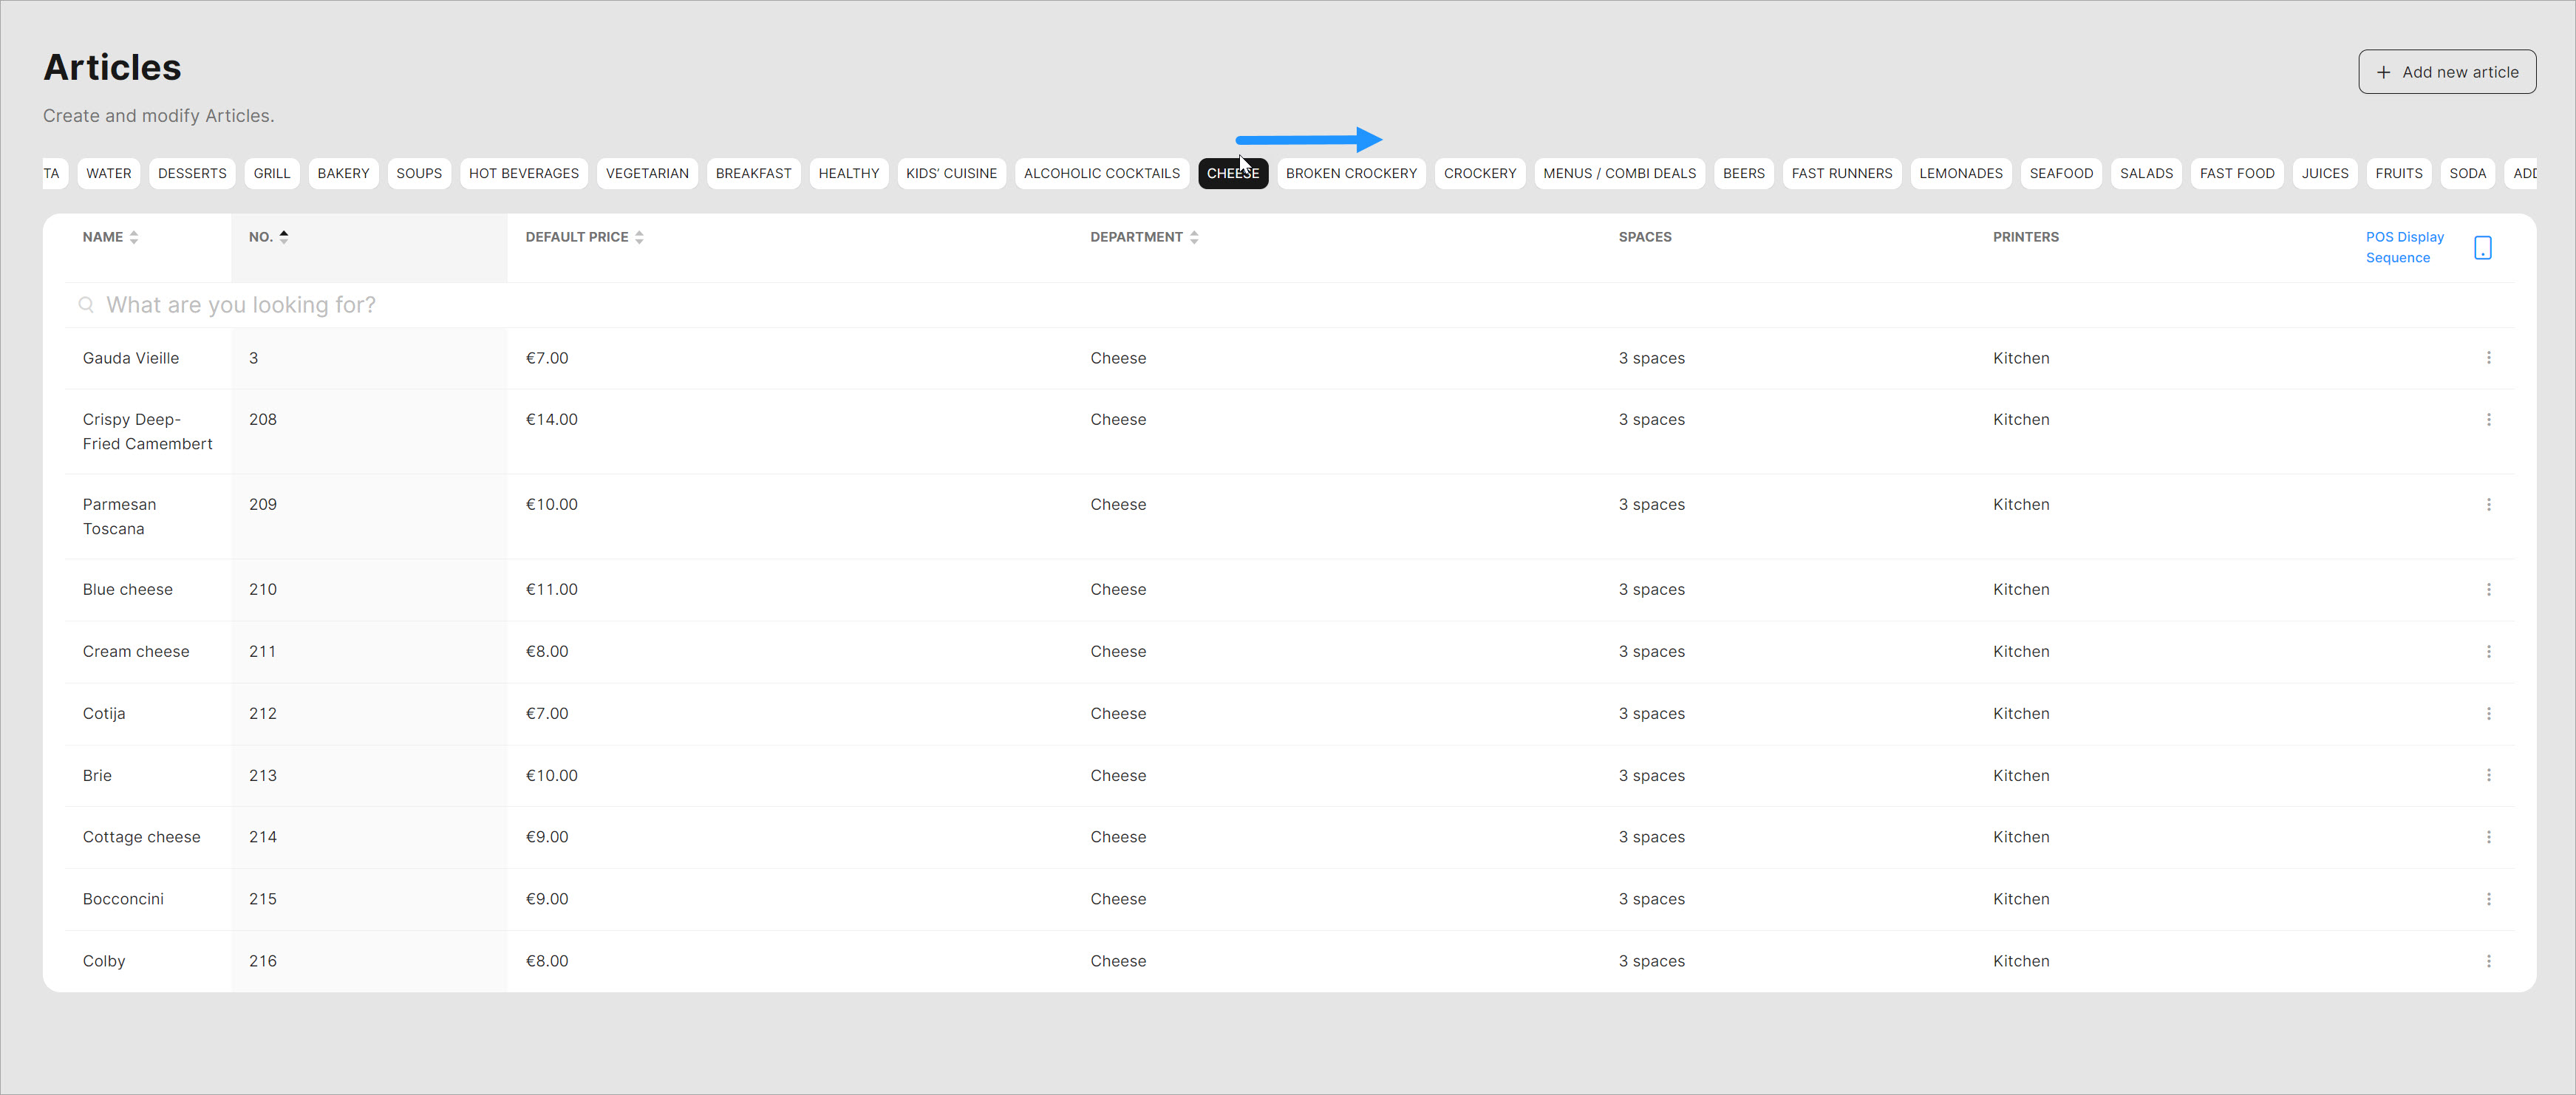
- Navigate to Products > Articles.
- Click 'Add new article'.
Tip: If you switch to a specific Department before clicking 'Add new article', the Department field for your new Article will be set automatically, enabling you to add items more quickly.
To move a row of Departments to the side, long-click on any Department and then drag it with your computer mouse.
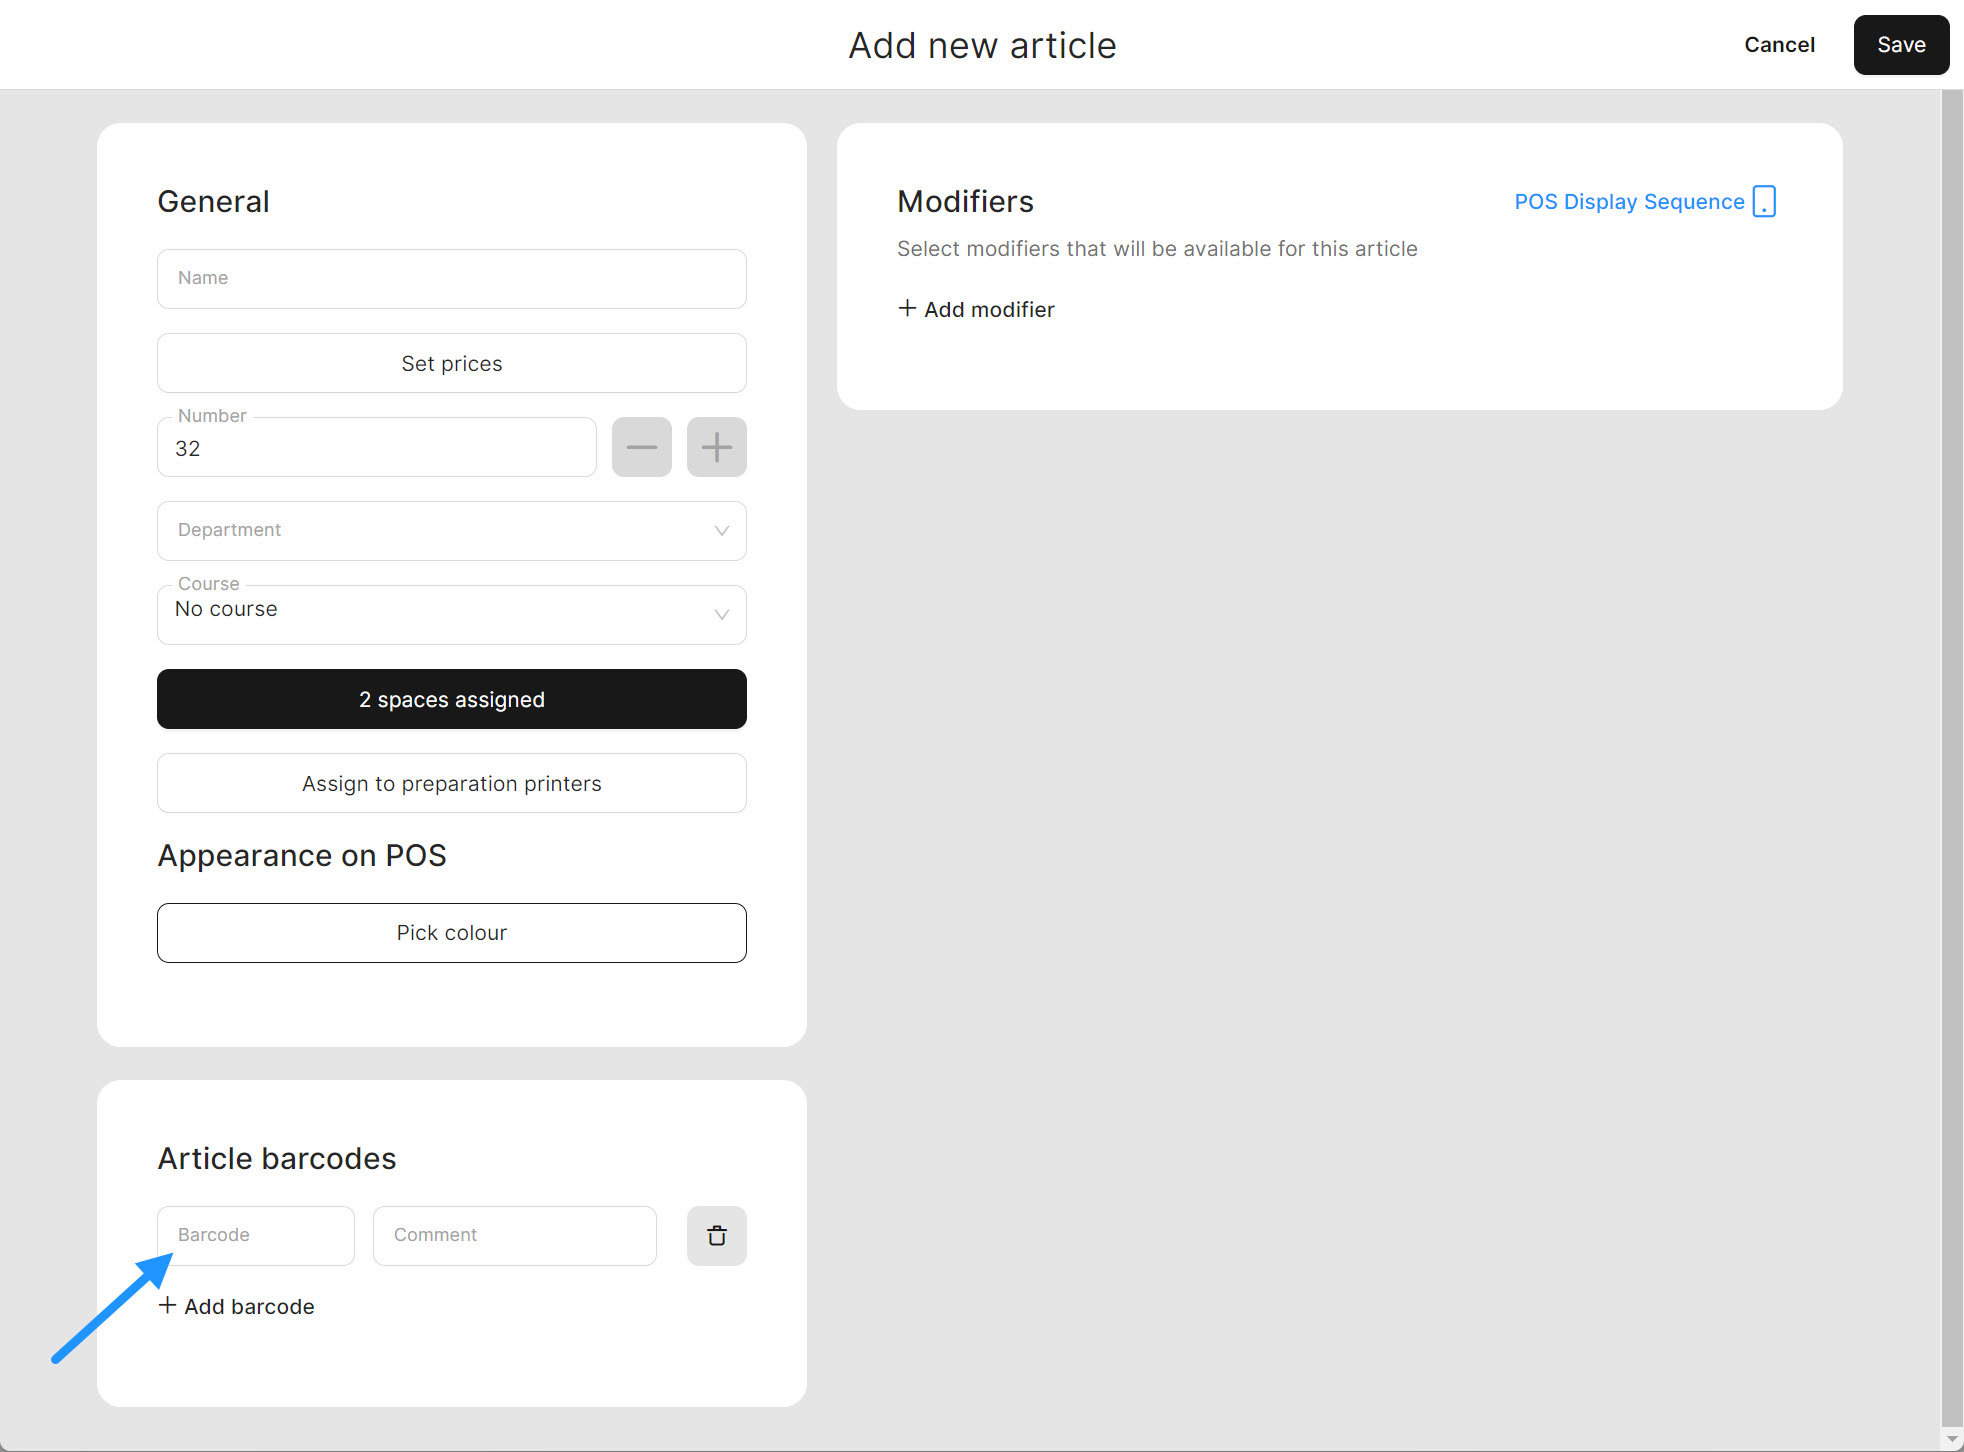
- Provide a name for your new Article.
- Set a price for this Article.
Tip: If your Space has a 'Special price' and you want to set distinct prices for the same Article across different Spaces, refer to this page.
- Select a Department
- Select a Course (if you do not use Course for this Article, set 'No course').
Optional:
- You can tick the checkbox 'Open price' to allow POS Users to set the price for this Article manually while ordering.
- If you set a price for an Article designated as an 'Open price' Article, this price will be shown in the POS by default, but the POS Users can modify this price.
For details about the 'Open price' feature, refer to this page.
- Assign this Article to the needed Spaces.
- Assign this Article to the preparation printer.
Tip: You can view the preparation printers assigned to the Article in the column on the Article page to check their assignments.
Once an Article is assigned to a preparation printer, it will be printed on the order ticket when the POS User places the order.
Alternatively, you can assign Articles to a preparation printer in its settings. For more information on how to do this, refer to this page.
Optional:
- You can select a custom colour for the Article. This colour will be visible in the POS when the Article is included in the order. For details, refer to this page;
- You can add a Modifier to your new Article. For instructions on how to create Modifiers, refer to this page.
- Click 'Save'.
POS Display Sequence
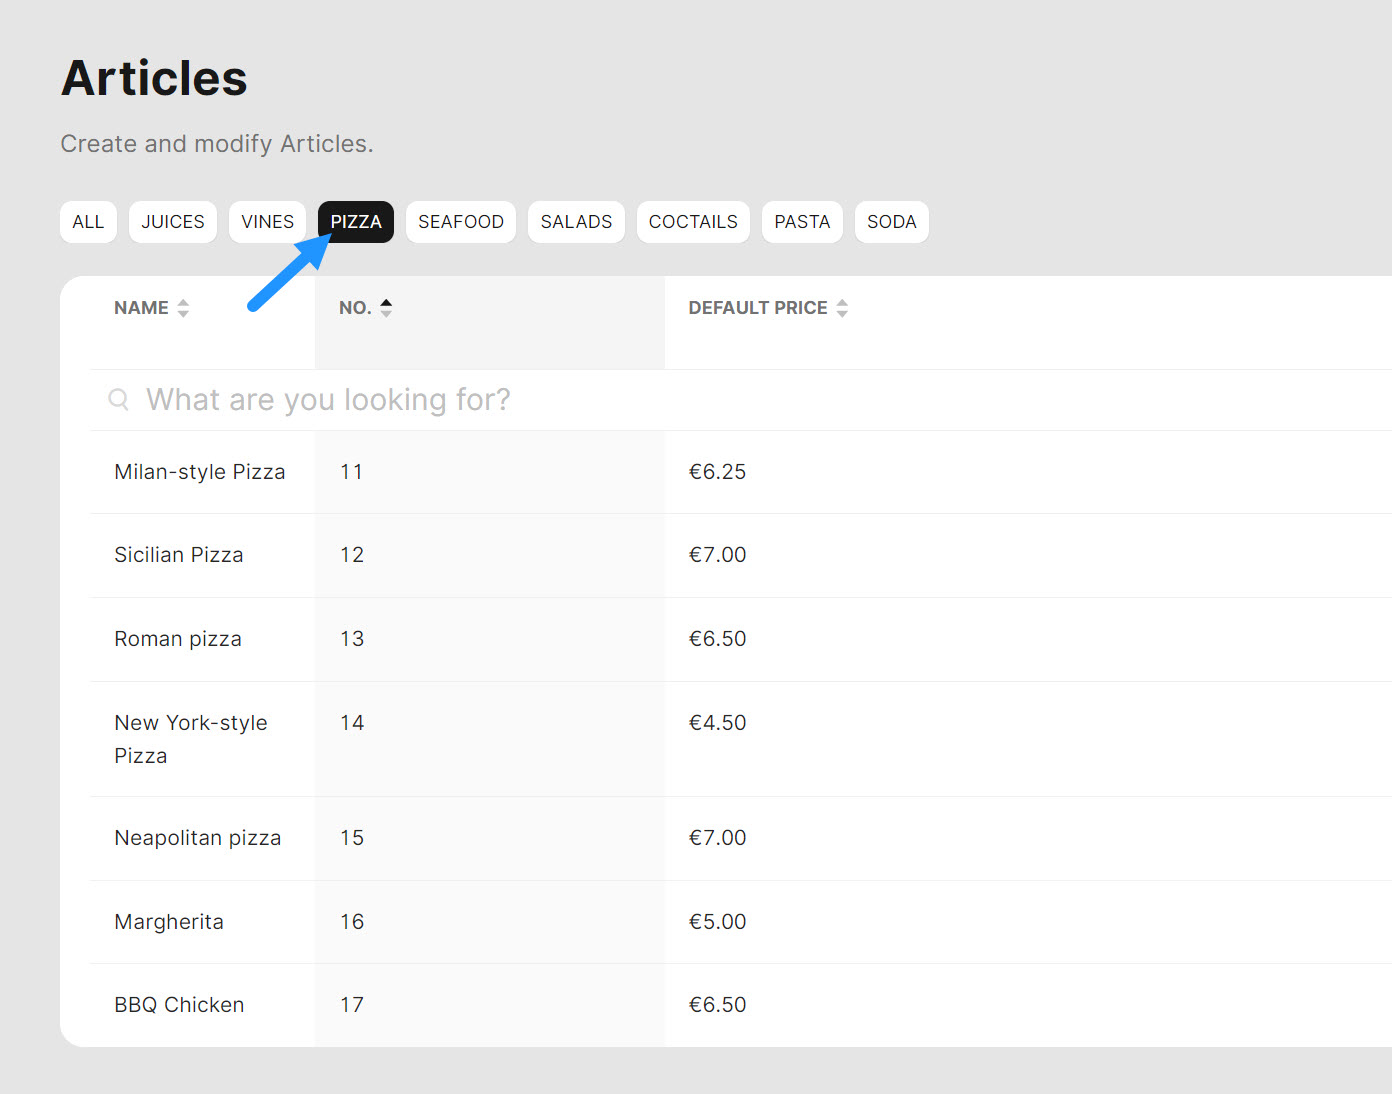
In the Articles section, you can modify the appearance of your Articles in the POS application by setting a specific sequence.
To do this, switch to a specific Department tile, click on the 'POS Display Sequence' button, and adjust the sequence accordingly.
For more information about POS Display Sequence, refer to this page.
Create article barcodes
Within unTill Air you are able to assign unlimited numerical sequences to identify specific items. As a result, POS Users can scan the required item and straightaway get the required Article without long searching.
To create an article barcode, please follow these steps:
- Navigate to Products > Articles.
- Click 'Add new article' or edit an existing one.
- Click 'Add barcode'.
- Enter the numerical sequence and add an optional comment if desired.
-e5f6e46c2fb46bf4ec0ecde18b94c3e8.jpg)
- You can add more than one article barcode if needed.
- Click 'Save'.
Note: You need to use the barcode scanner connected to handle the order with a barcode.
To connect a screen (display screen) to a barcode scanner, you need to use a USB cable and plug it into your device. If you want to connect a tablet or phone to your barcode scanner, it can be done via Bluetooth. Using Bluetooth, find a respective barcode scanner and start using it in the unTill Air app.
Once a barcode scanner is connected and the article barcode is added in your Back Office, you can simply point the scanner at the product’s barcode and check out your client and make your customer checkout more efficient and quick.
Are you curious about how article barcodes can simplify your daily operations and make them faster and effortless? Discover 5 reasons to use barcodes in the POS of retail stores by reading our website's blog.